Will start with the harder part, the rear end (even if we did lower the front first and that was not enough).
Found online people that had extended the frame to shock link arms, but that would involve cutting and welding a cast aluminum part, and also making it very hard to go back. And its an advanced part with a bearing supported connection back at the frame.
So took the other option that I have seen with replacing the lower shock mount, buying a lower one would set us back €140 and the part is not that advanced to make yourself. So if you want to save some cash and have the resources, you can see what we did.
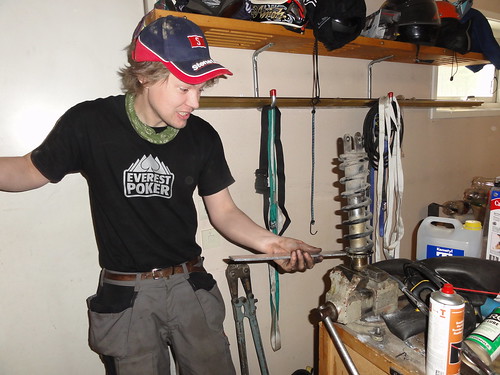
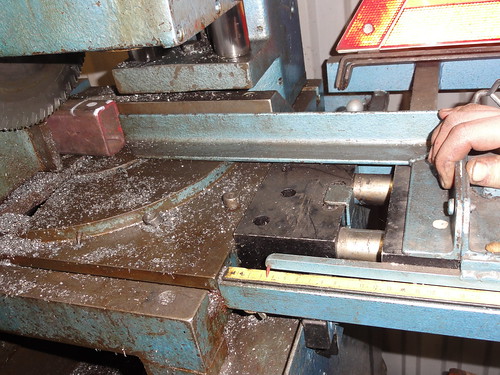
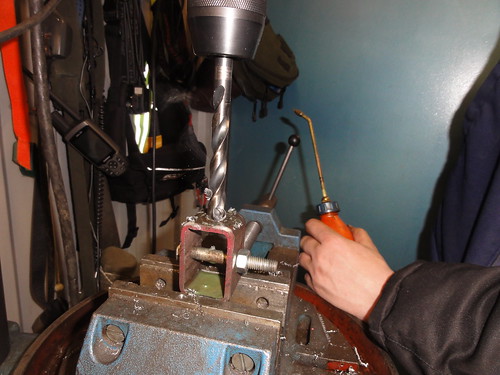
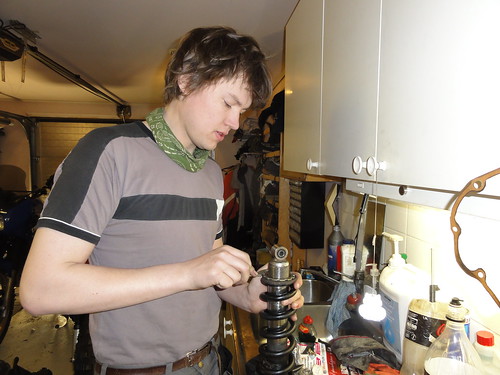
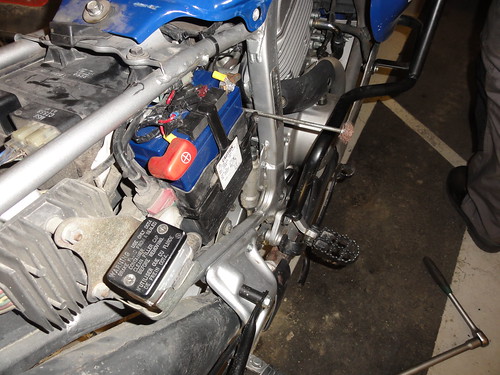
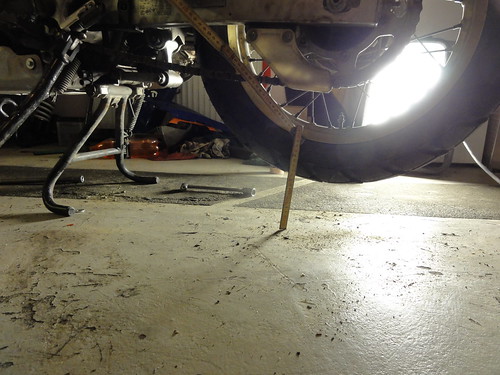
Started off by getting the shock out. The top mount bolt can be tricky to get out, I used something to gently bend the airbox back and a long rod of some kind to push it out.
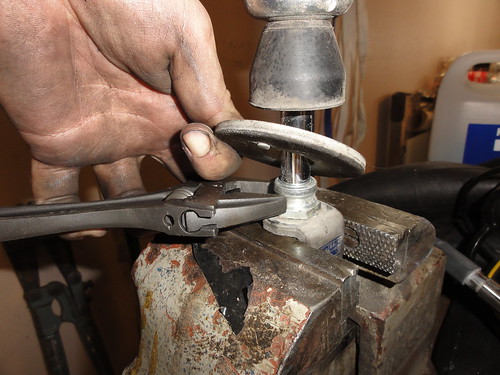
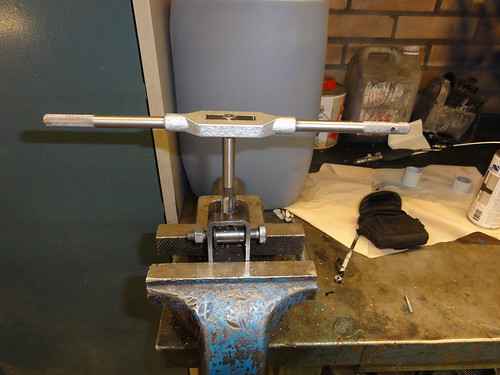
Once out I measured how much the spring is compressed before disassembling the shock. They say don’t hammer spring compression nuts loose but if using aluminum that is softer you can get away with it. It is best to get real hook wrenches (did the for assembly):
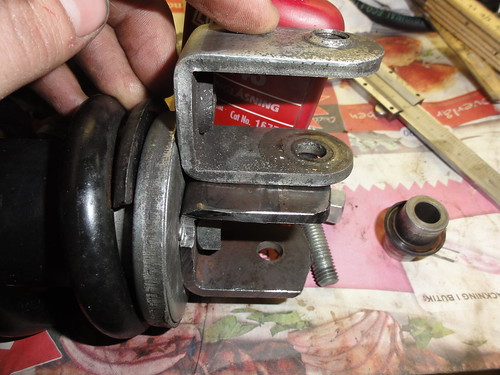
Once both compressor rings are off you can slide the spring off and the cover and hold up the spring stopper plate and unbolt the lower mount:
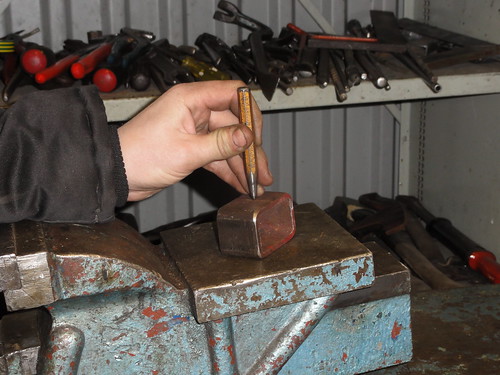
Went to my dad’s friend’s place who has a workshop and found some suitable material to make a new shorter mount from:
So put it on top and drew the shape so we knew where to cut the bar:
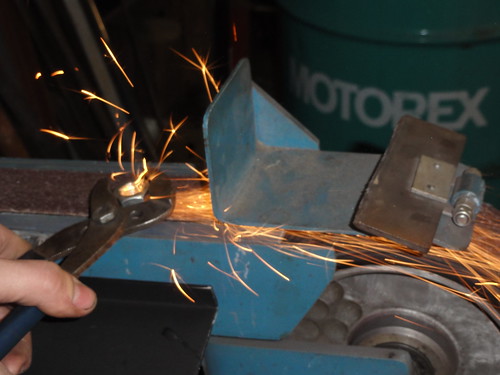
Setting up cutting tool:
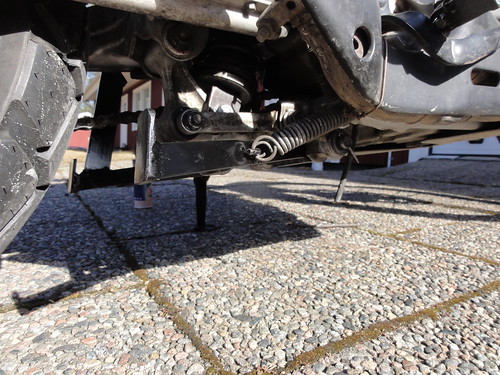
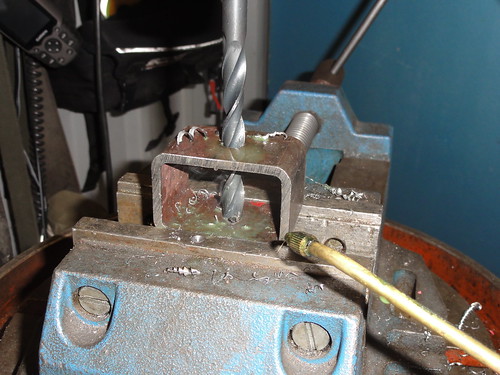
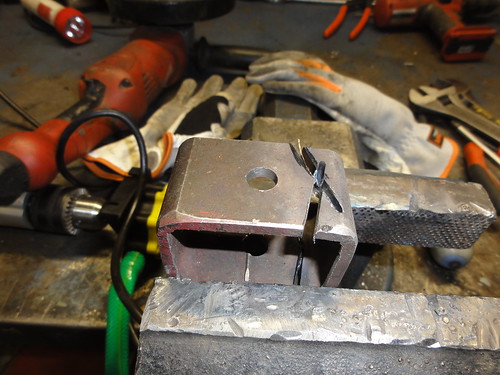
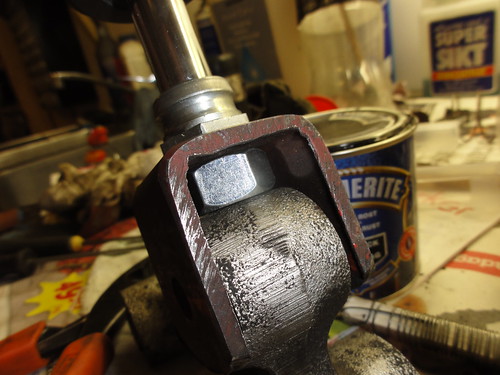
By previously measuring the piece with parts on the motorcycle we saw that shortening the lower mount ~10mm would give us 30-40 mm back at the wheel so after some measuring for that we punched a mark and drilled:
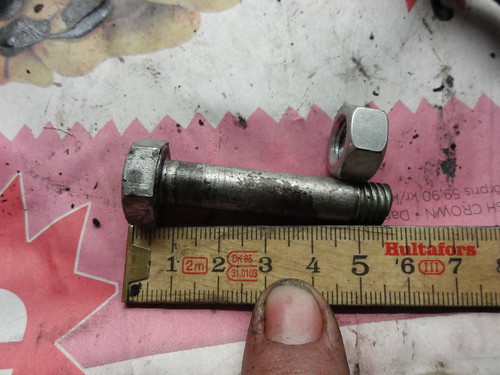
Started with a small drill and here is the 10mm drill, we simplified the part a little instead of having threads on one side we just used a bolt going all the way through and a nut:
Marking the center on the top:
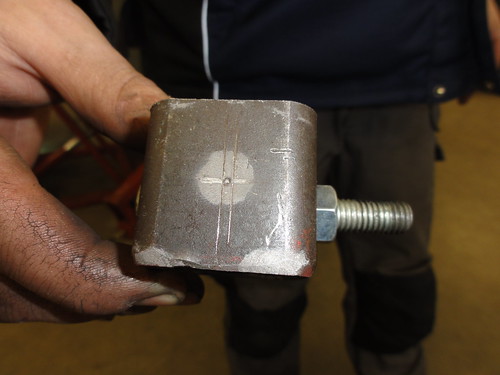
In 3 steps we got up to a 12,5mm drill that is the correct size if the hole will be threaded M14 x 1,5 mm that is fine threads:
Could borrow the M14 x 1,5 mm thread tool at works big workshop:
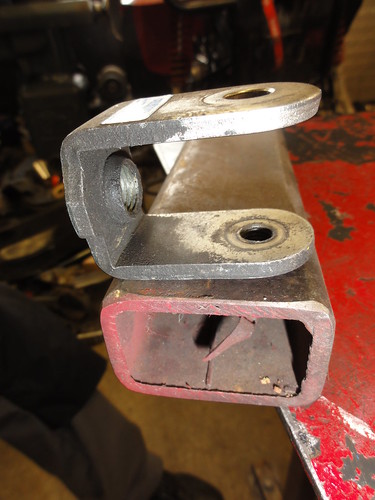
Cut away the lower end:
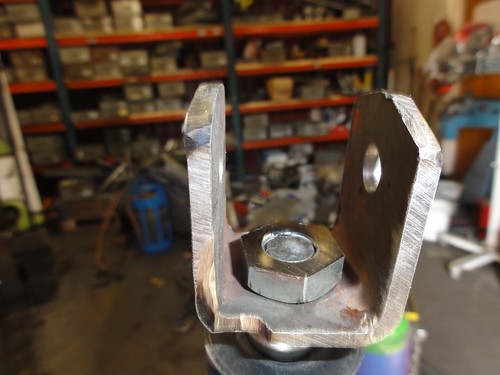
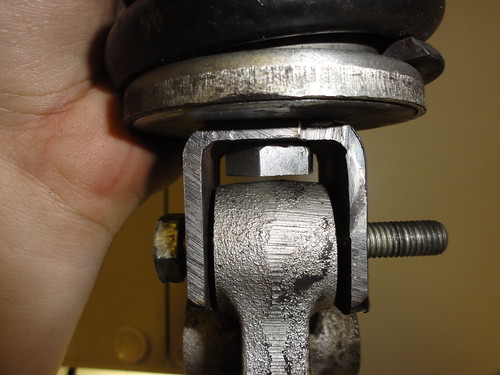
Smoothed it out and added the notch to prevent the spring stopper plate from rotating, it mirrored but should not matter:
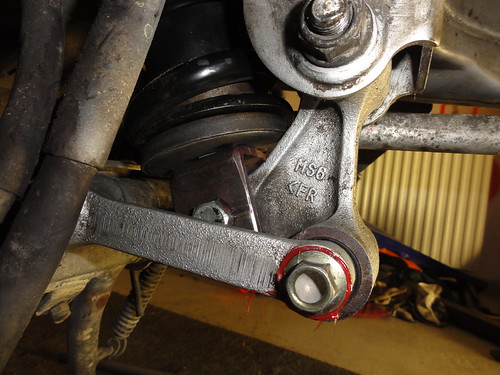
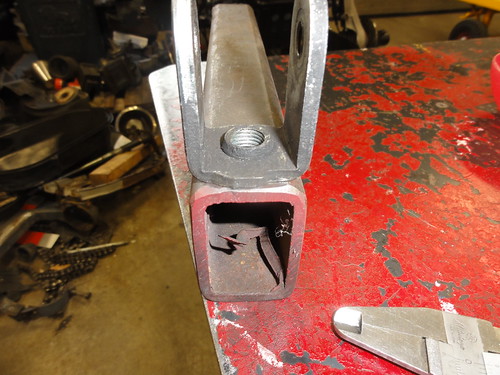
Since the original part had more threads then my reworked part a nut would be added for extra support, but it was too thick and would interfere with the shock link:
After some grinding it was thin enough:
Plenty of loctite and we are ready to assemble the shock again:
With the lower mount it is enough to just tighten it well, spring compression is best to have the hook wrenches, we tightened it a little less then before:
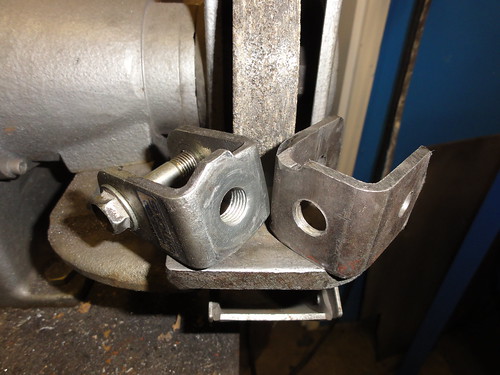
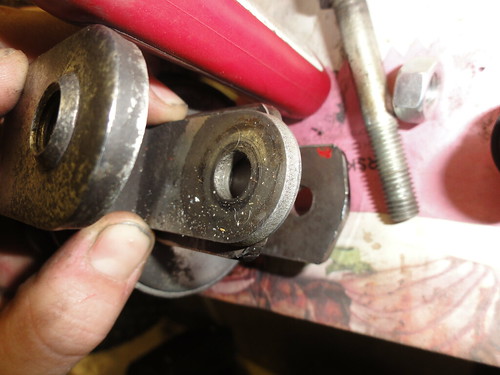
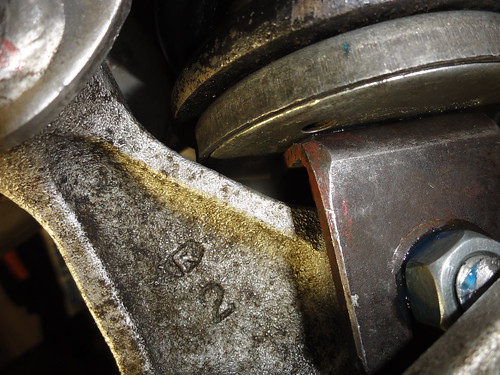
Some pictures to compare lower mounts:
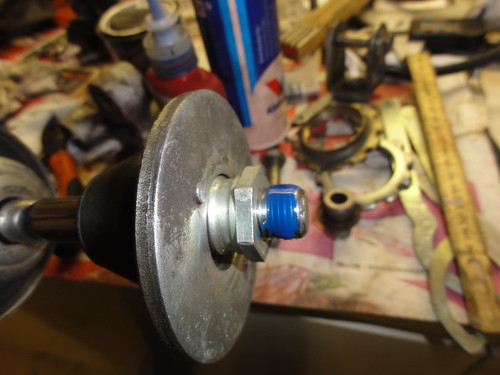
Did a mock up with just axle and seals since we waited for this bearing that needed replacement:
Put shock in place, a rod to hold it in place:
And getting the bolt in place required a hammer to bend the air box gently back and another rod to push the bolt with:

Thought we would have clearance for a lock nut but was wrong, it barely touches so took it off and shortened the bolt a little more:
Since its a normal bolt I used some more loctite and tighten it up and now it is fine:
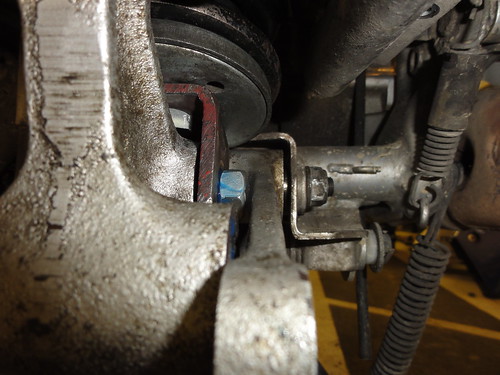
The other side had more room:
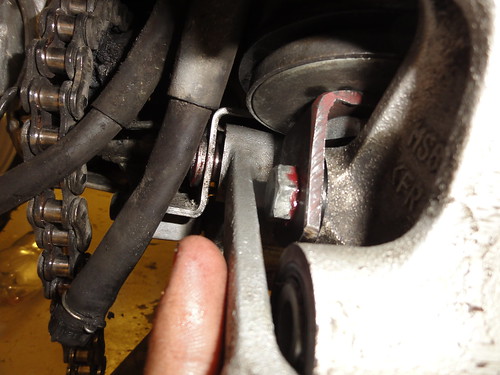
Up here its hard to see, it might touch ever so little but that is with the rear wheel off the ground:
Just to put the rear wheel back and Hilary’s Duck Legs can enjoy the lowered bike:

The front end was easy, we only pushed the forks a little higher in the triple clamp.
Using some heavy weight strapped to the rear end to hold it down.
Prefer to take the front wheel off and do one side at a time, tried just loosening the triple clamp some times but always ended up with a crooked front end. When doing one side at a time there is less risk of that. On the Transalp you also need to loosen the front fender and the support brace to make it easier working with the individual fork legs:
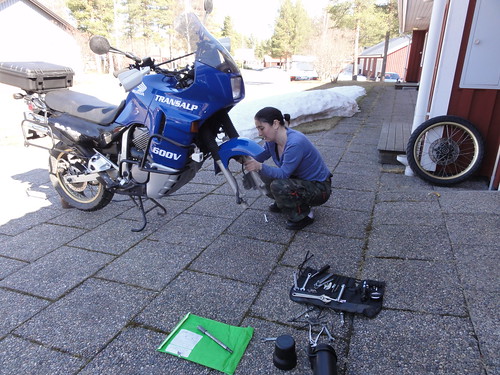
Loosened one side and pushed it up:
And here is the other side. With anything concerning forks, it is good to use a torque wrench to not over tighten them. So we checked the manual and tightened the clamp bolts accordingly:
Then its just to bolt it back together!
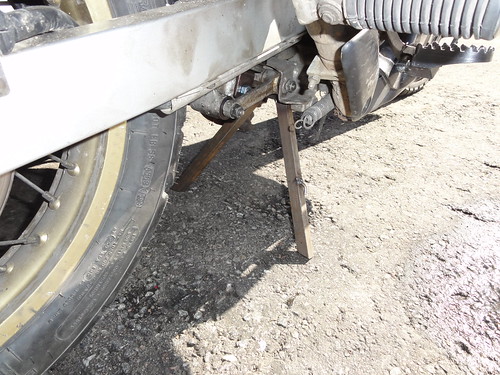
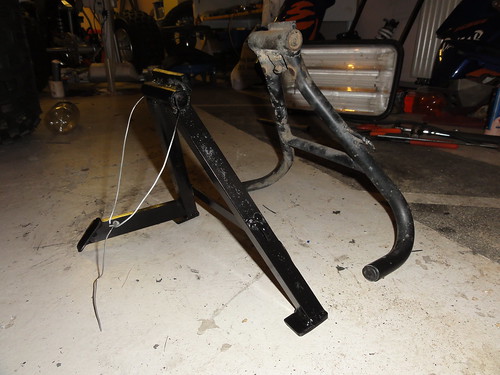
All this lowering made us end up with a center stand lifting the rear wheel 10 centimeters and making it extremely hard to get it up on the center stand:
This is not work we can be proud of it was a real hack job and all just made by eye sight not a measurement taken:
Hilary giving it some bling with shiny black paint:
Next to what was on the bike before:
And in place on the bike: