Replacing cranky high low beam switch on the Transalp
How we replaced the high low beam switch on the Honda XL600V Transalp
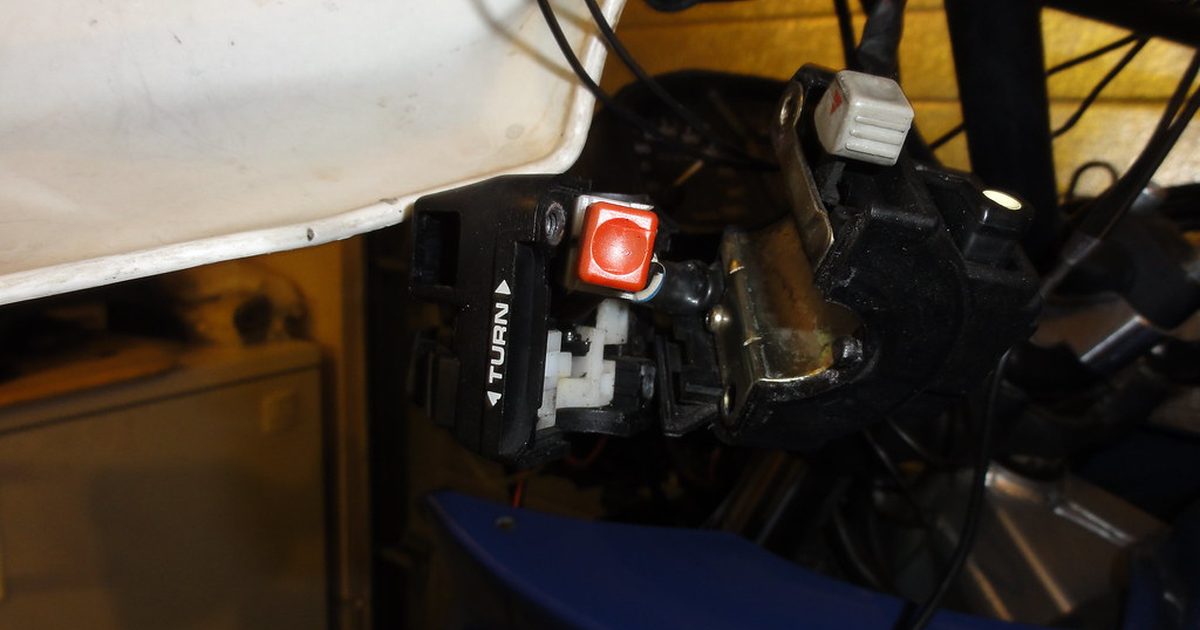
The high low beam switch was cranky and needed several pushes to work and that is annoying so we started looking into the problem by taking it apart:

And what the insides look like, in the right part there is some hook that moves in some kind of plastic maze in the left part for the two settings and the plastic looked worn:

Could not find an exact replacement and swapping the entire assembly would be expensive so had some of these small Dpdt On-On mini switch that could work:

Sorry for the blurry picture.
It was a little to big so with a dremel and a fine grinder we took out some material so it was possible to slide the switch in place from the inside.
Had to extend one of the wires, its a little to long but it was easier to solder in place and then cut to length:

Soldering the switch in place was a bit difficult. Here my dad helps out so Hilary could snap some picture (she helped out a lot also):

And as usual I messed up the wires and ended up with both high and low beam coming on at the same time so we had to rearrange two of the wires but once that was sorted out and everything was working. We slid the shrink tubes in place and heated them with a hot air gun with it adjusted down to low so we wouldn’t melt anything:

Put the clamp holding the wires in place back:

A larger washer and nut to hold it in place and a final test that everything works before bolting it back on the handle bar:

And everything back in place, low beam to the left and high to the right:

Will look at getting a rubber cover for the switch for protection.
And this is how happy Hilary was about the working switch:

Since it wasn’t working cause of my faulty wiring we did some trouble shooting and ran into the trouble of getting the fuse cover off, and that was hard. Because of a tab on the rear it was impossible to get to without some kind of tool:

To make that easier to get on and off I turned to my trusty dremel:
